bistdunarrisch

joined 10 months ago
[–] bistdunarrisch@lemmy.world 1 points 2 weeks ago (1 children)

Interesting, how much power does the laser have to need to be able to burn the paint?

[–] bistdunarrisch@lemmy.world 2 points 2 weeks ago (1 children)

Haha, the board won‘t win any prices for sure. But for a first try I‘m still very happy.

[–] bistdunarrisch@lemmy.world 7 points 3 weeks ago

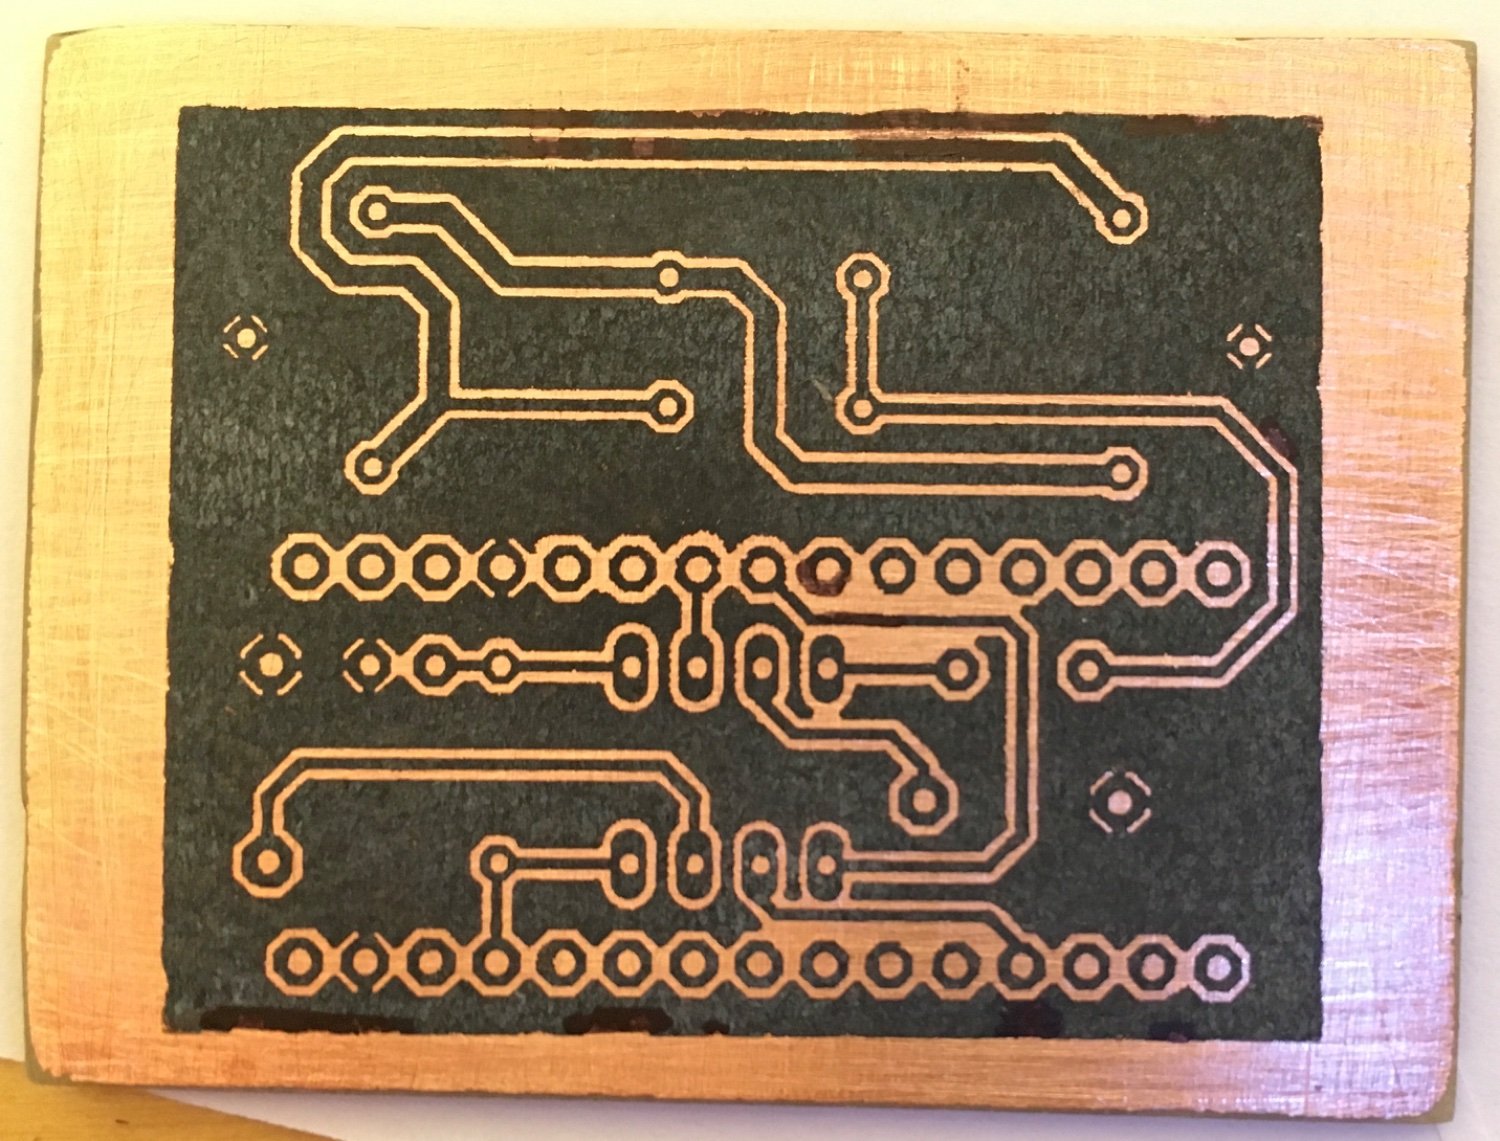
I just printed the design on a glossy paper and used an iron to transfer the toner from the paper onto the pcb (last image). The toner protects the underlying copper in the etching process, so only the free copper gets etched away. I used Na2S2O8 for etching.

[–] bistdunarrisch@lemmy.world 4 points 3 weeks ago

Yes UV is so much nicer, I also use this method now when I‘m not ordering online.
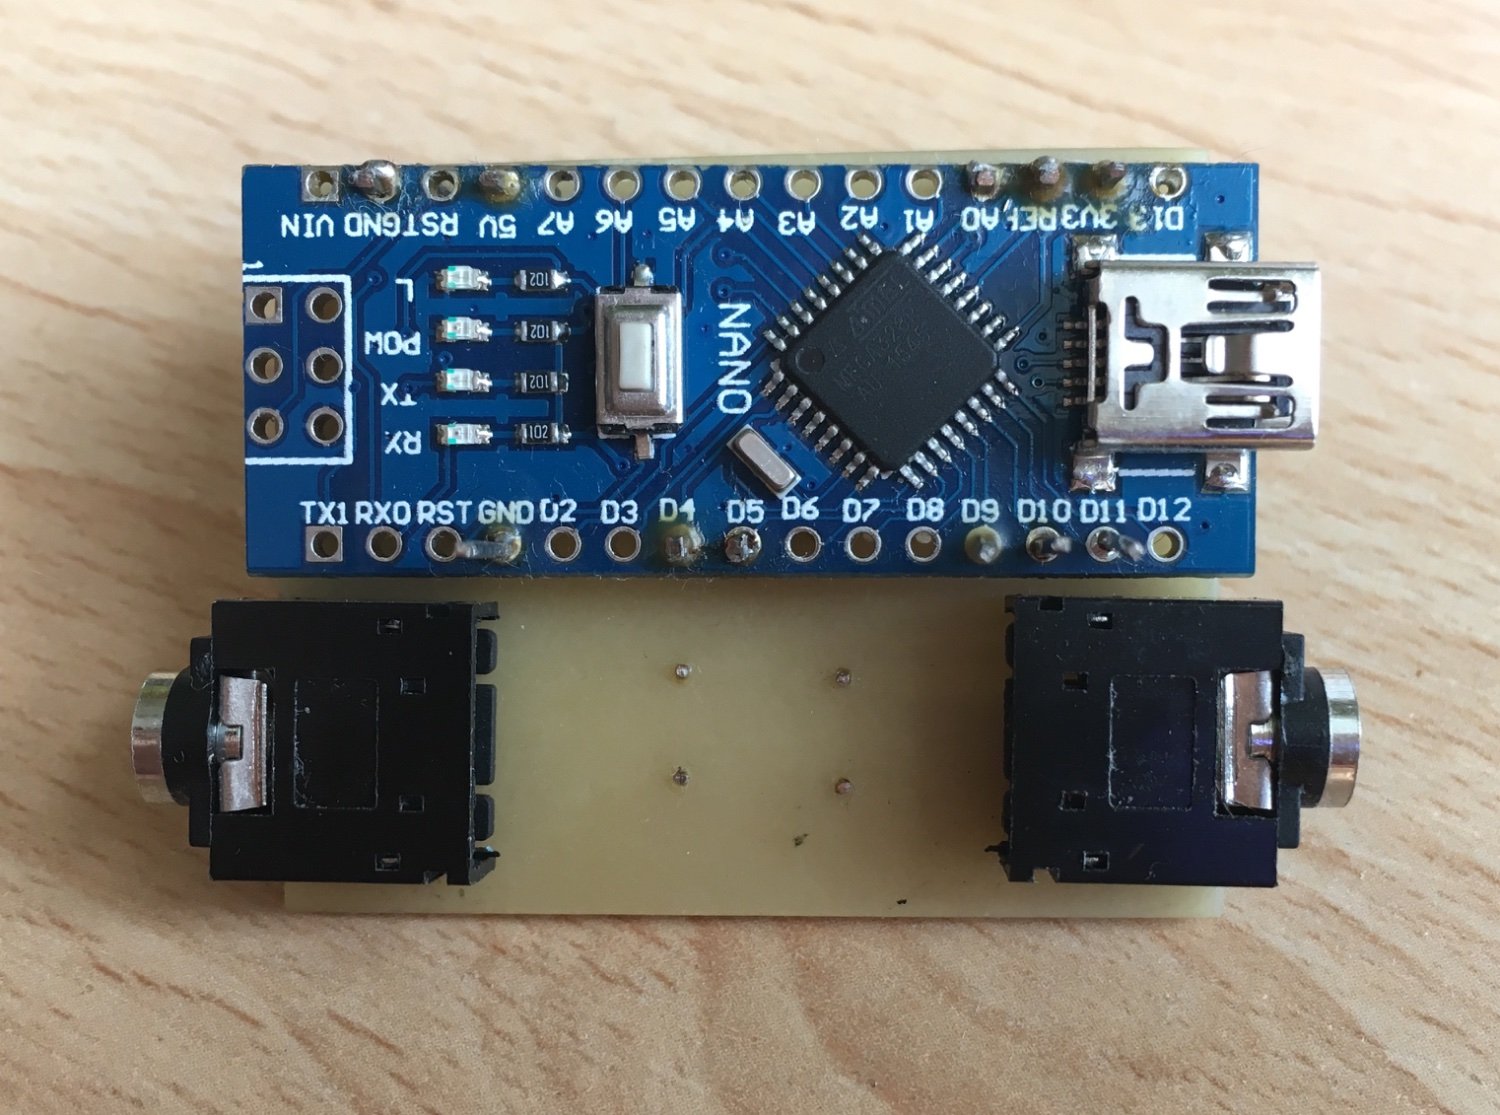
 

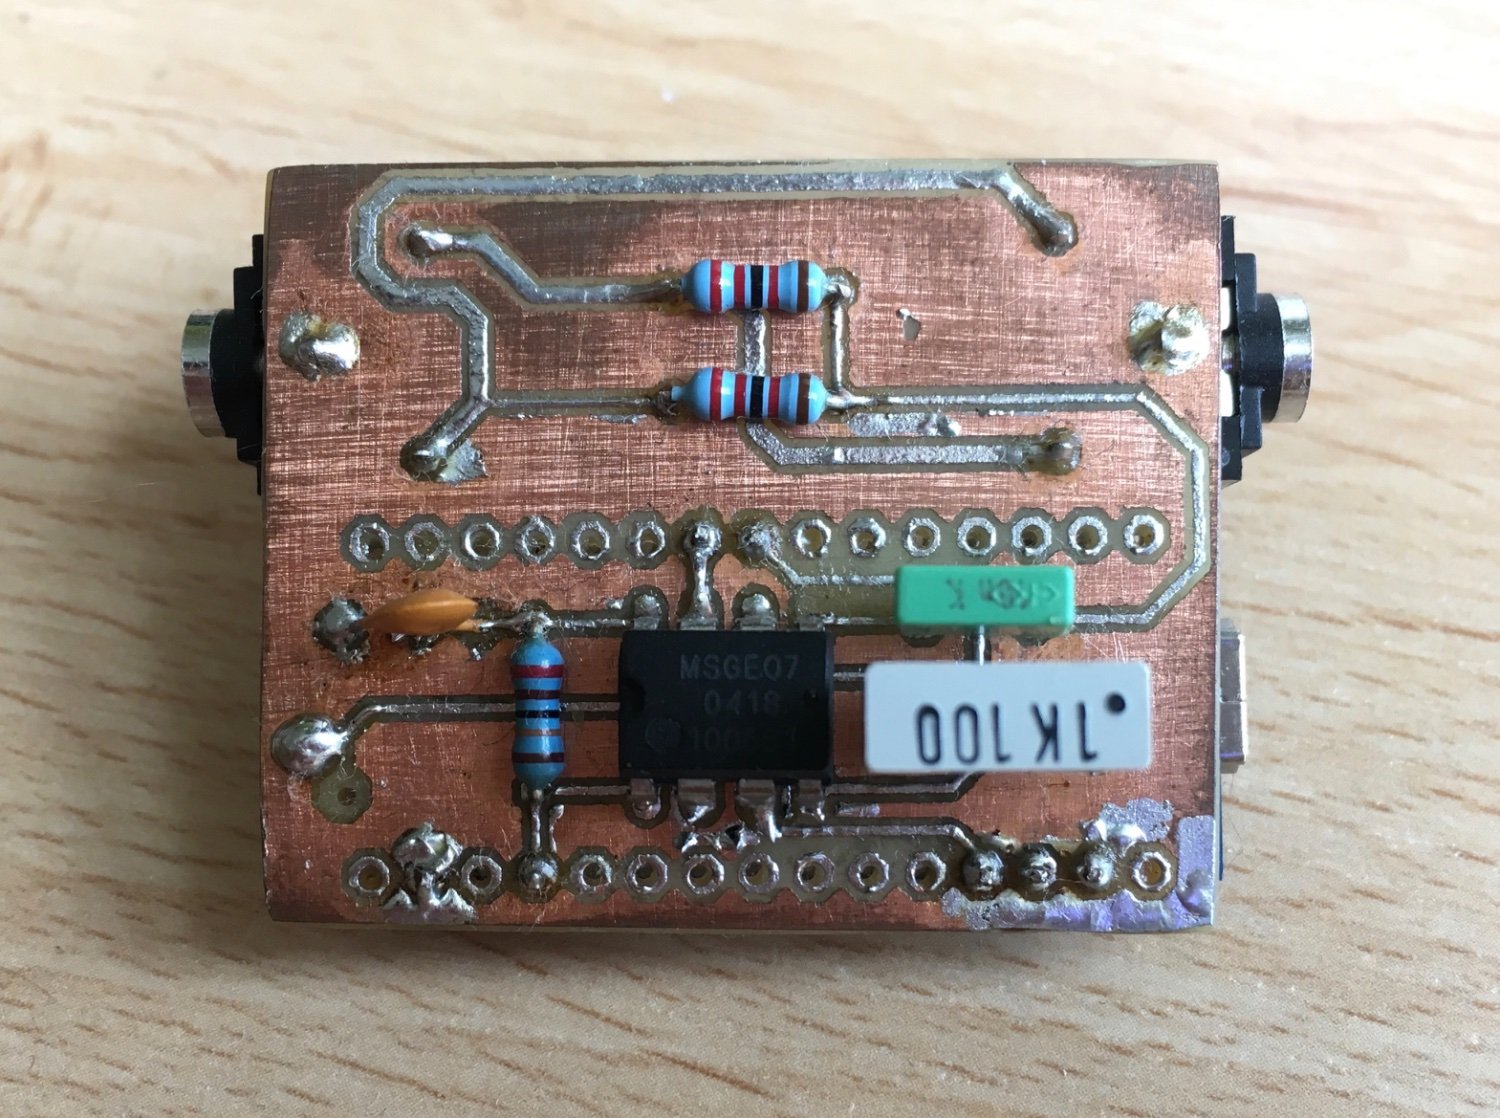
This was my first try developing my own pcb with the toner transfer method. I did this project many years back but it works perfectly to this day.

It filters an audio signal and drives led strips so they pulsate to the beat of a song.


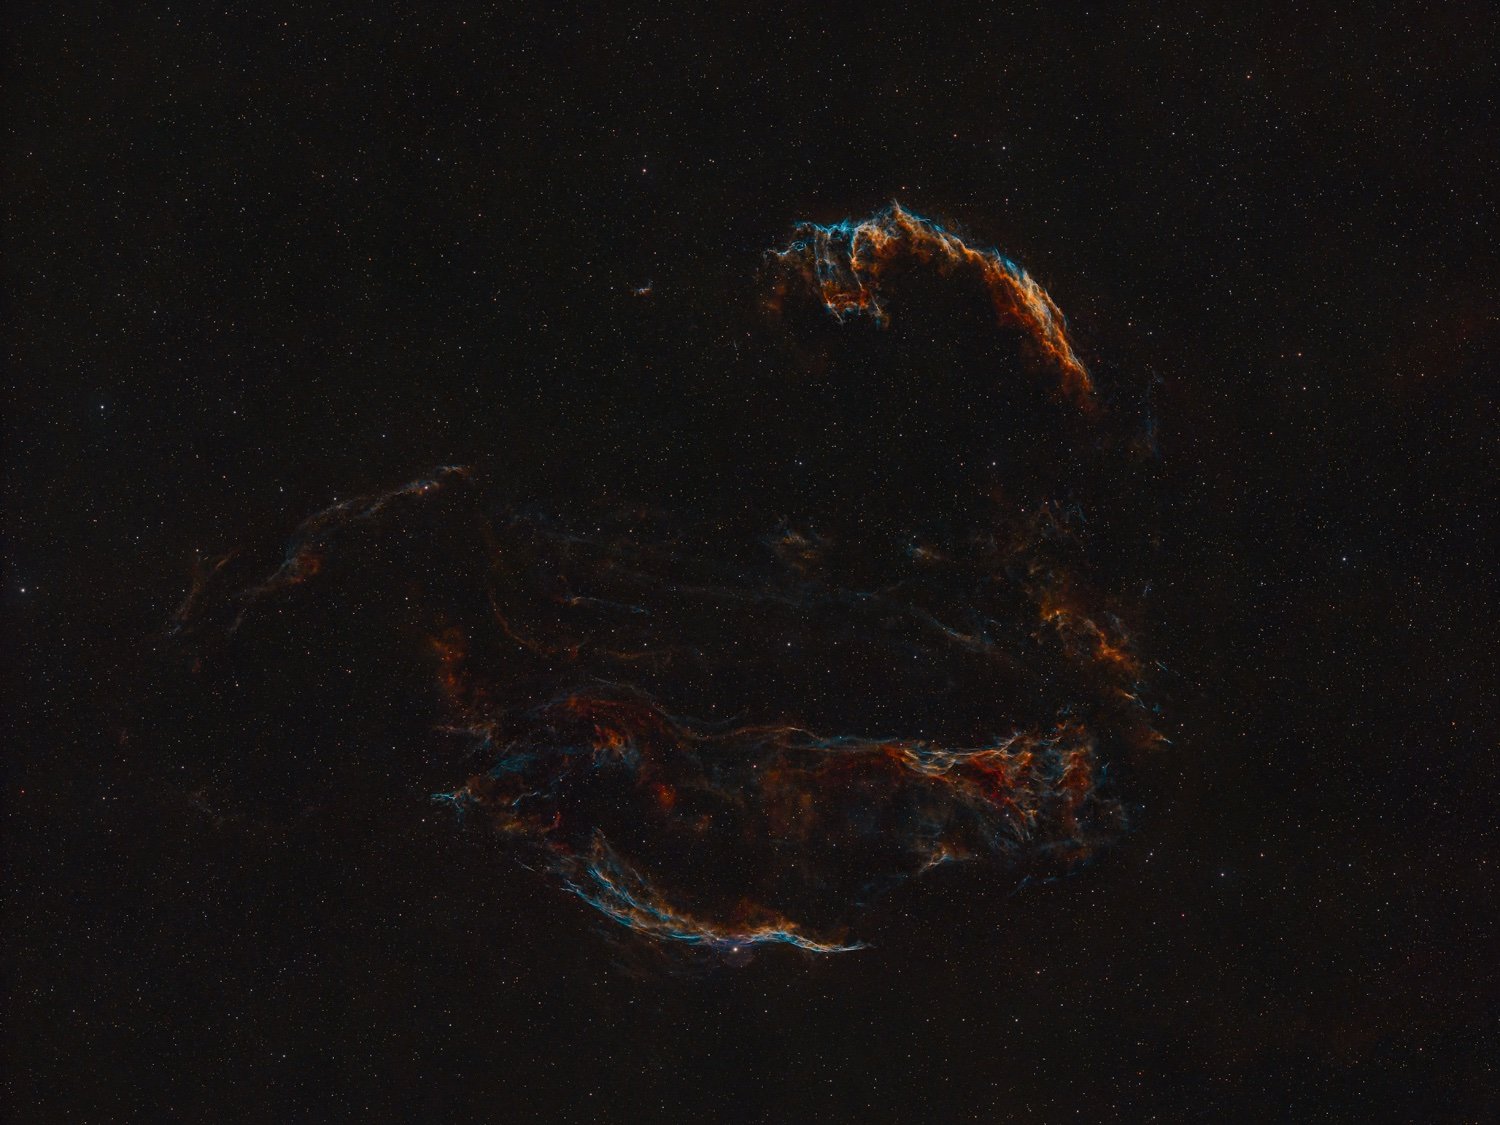
We shoot this image over two nights to reveal the faint structures of the veil nebula complex.

Shot with a 135mm lens and a Fuji X-T5.

1
submitted 3 months ago* (last edited 3 months ago) by bistdunarrisch@lemmy.world to c/3dprinting@lemmy.world
 

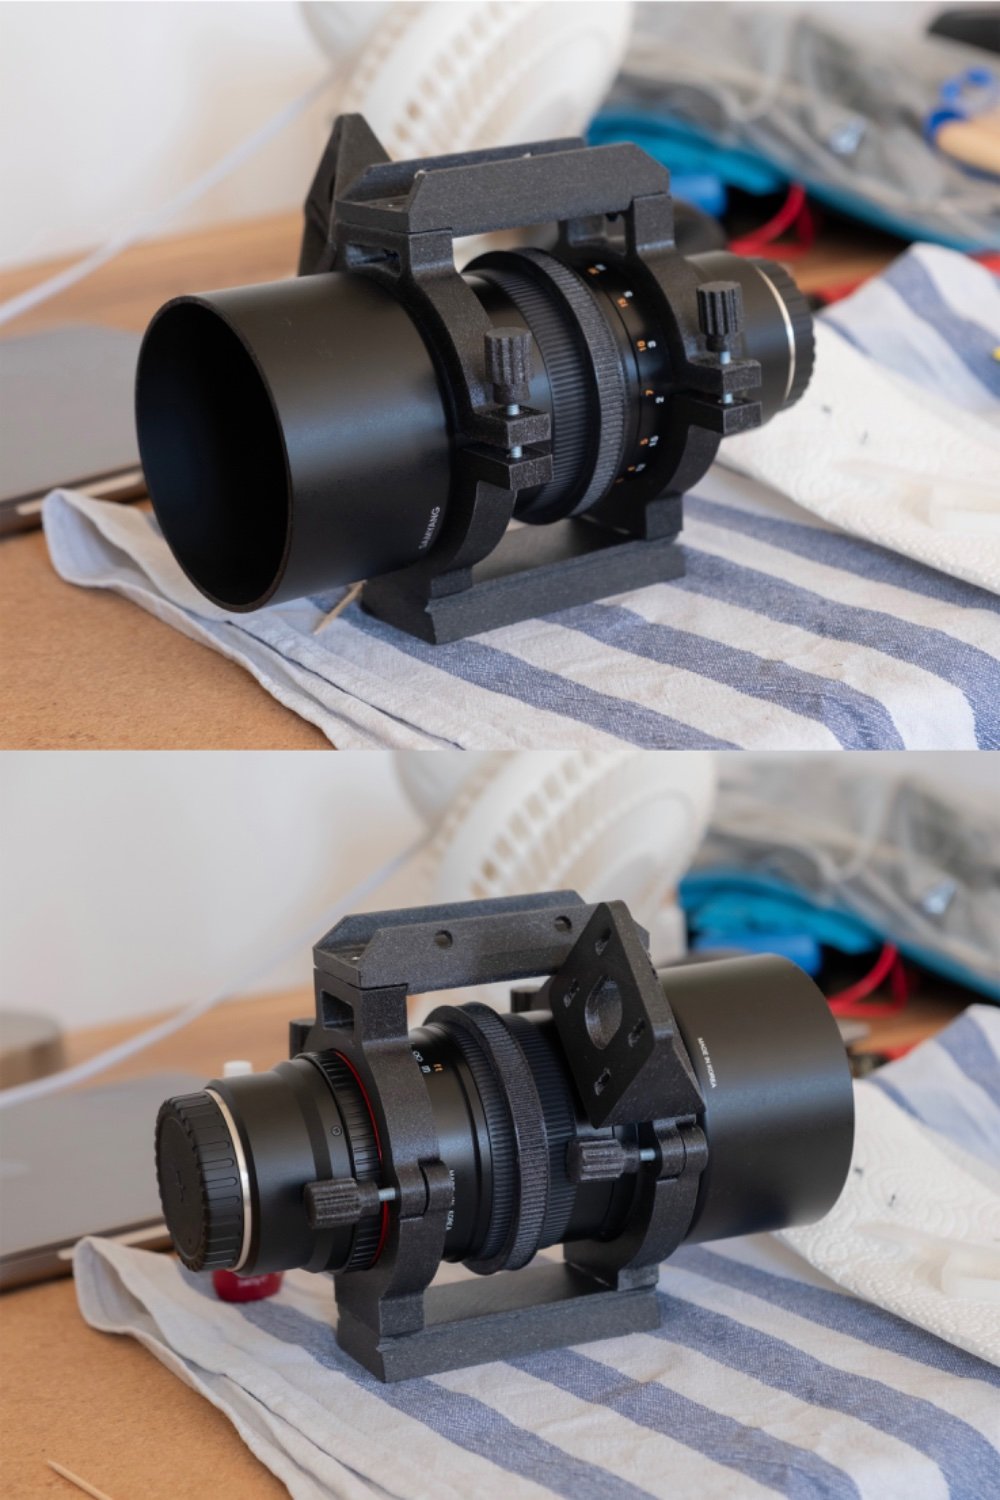
I found this design and it fitted my need perfectly. It is a mount for a very popular camera lens used in astrophotography. It not only functions as a weight relief for the camera but also allows to rotate the field of view. Moreover it is possible to focus the lens with the installation of a stepper motor, which will be the next step.

The single parts are screwed together with the help of threaded heat inserts. Just to make sure they are also glued together with epoxy, as the mount really needs to hold up. The screws are locked with Loctite.

Edit: Link to the mount (not my design): https://www.thingiverse.com/thing:6099113